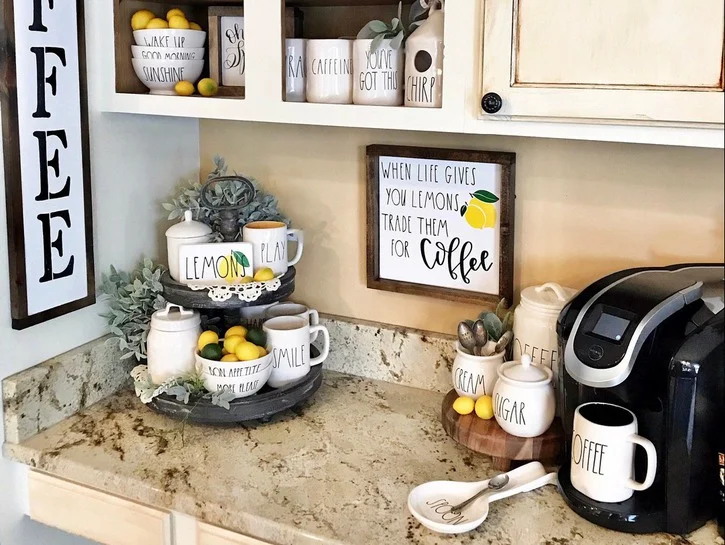
Have you added a coffee bar to your home? If you have, you know that it’s always an amazing addition to the home. The best part of adding a coffee bar? Decorating it! In addition to adding the coffee, coffee accoutrements, candles, plants, and shelves, you can finally add a coffee bar sign. Even better, you can make it yourself and make sure it’s exactly what you want.
What You Need
scrap wood
acrylic paint
mod podge clear acrylic sealer
silhouette cameo
adhesive vinyl
clear transfer tape for vinyl
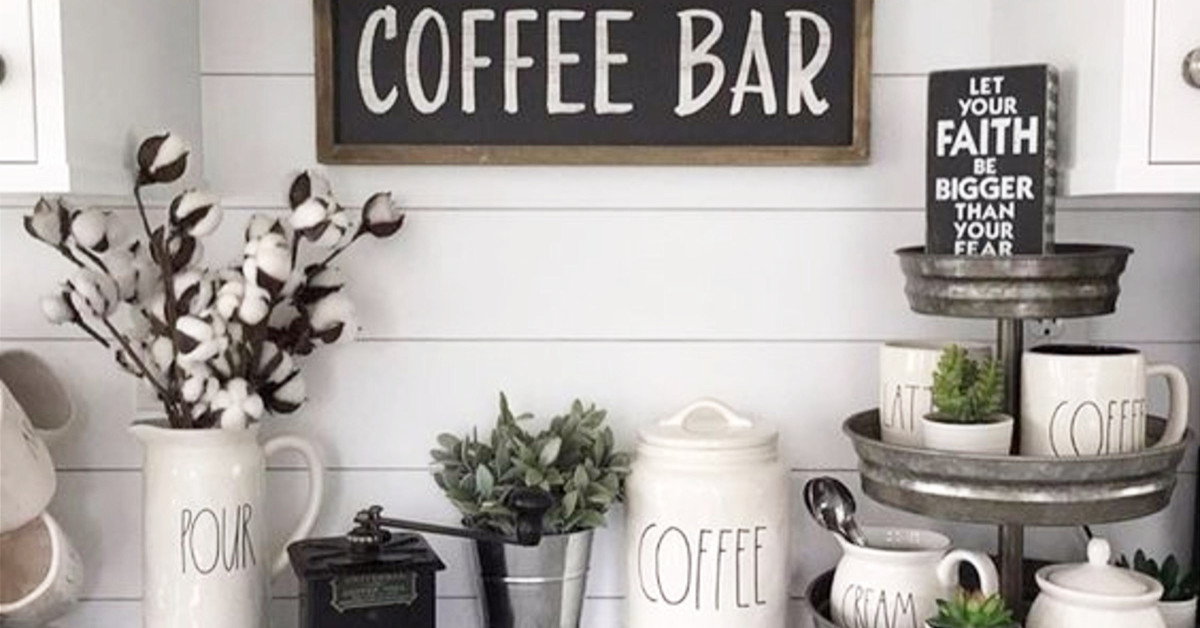
Make Your Own Sign
What To Do
Start out by painting the board. You can use whatever color you’d like and matches your coffee bar. If you’re using acrylic paint, wait 20 minutes after painting the first layer and then add a second. Allow it to fully dry before moving on.
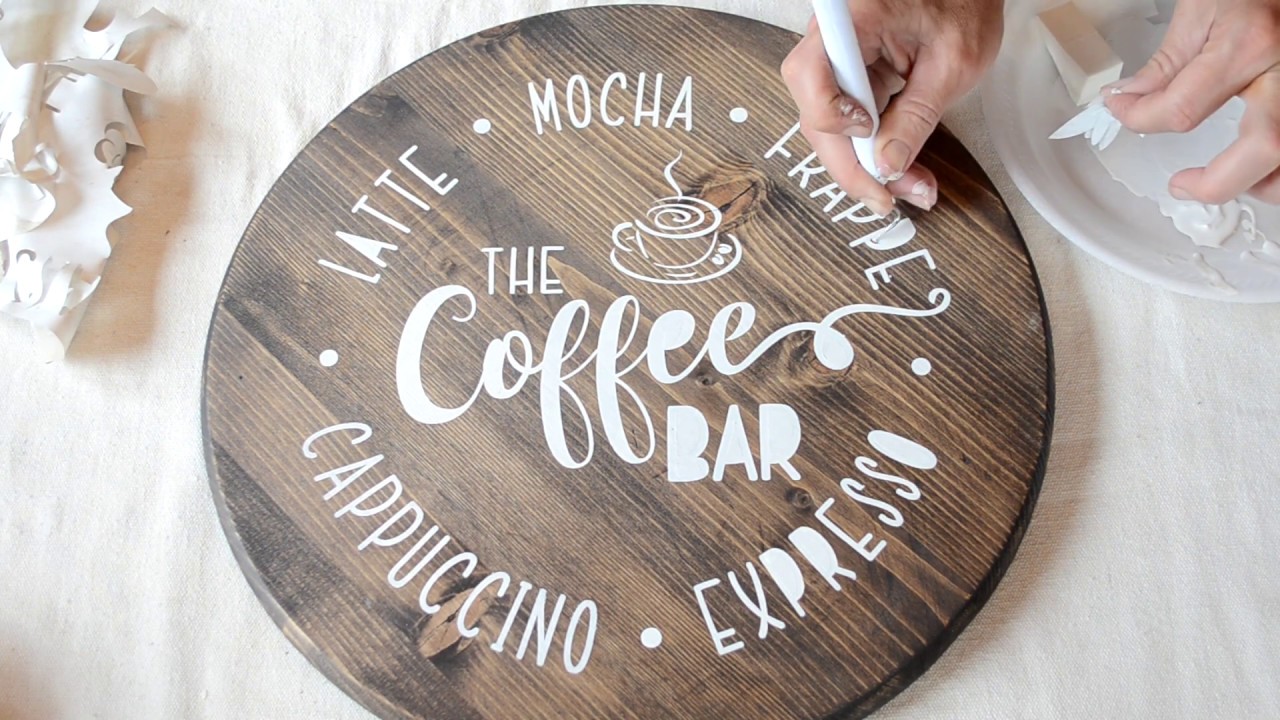
Tape off the sides and then use the silhouette cameo to cut out what you’d like to be written on the wooden plank. You’re essentially making your own stencil for the paint. Look for fonts online to get the exact look you want.
Personalize It
Transfer the wording on the board using transfer paper and make sure to smooth everything down perfectly. Make sure the vinyl sticks to the board so that it won’t bleed through when you’re painting.
Paint over everything with white chalk paint. Start with the first layer, allow to dry for 20 minutes, and then add a second layer. Allow to fully dry.
Once it’s fully dried out, peel off the letters and take a peek at your handy work.
Now to seal the sign, use Mod Podge Clear Acrylic Sealer. After adding the first layer, wait an hour and then apply a second. Make sure it is fully dry.
Hang it up as you please! You can use Command strips to hang it up. Alternatively, you can also prop it up on the table.


